Thursday, December 9, 2010

When all else fails. Make desert.

Alright, so dinner wasn't a failure. It's just a work in progress.

There's nothing I enjoy more than cooking for people I love. So when I found out that Mom, Dad, Stéphane and Dasha were coming over for dinner, I put my thinking cap on and tried to whip something up that would be gluten free, vegetarian, low in fiber, include some form of protein, no chocolate and not too expensive. Ummmm right. That's a tough one. So I settled on a beet salad and Zucchini Corn Pancakes.

My zucchini corn pancakes were originally supposed to be vegan friendly and had gluten in it. I nixed regular flour and used buckwheat flour instead. I am sure I could/should have used a mixture of other flours that would be lighter than buckwheat but it's what I had on hand. I also added chopped shrimp to the pancakes. The finished product was really delicious but the texture is a work in progress. The outside took a while to brown and the inside still remained doughy. Dasha and I played with different temperatures and tried butter vs. olive oil. Olive oil in the best we've found but it still left the inside a little too doughy for my liking. The recipe definitely has potential so I'll keep playing around with it.

The beet salad was something I wanted to try because Sean had a beet salad with yellow beets that he really enjoyed. He's mentioned it a couple times that we should try to make the salad again. I have never had a beet salad. Beets being recently introduced into my kitchen as they weren't something I really enjoyed before. I could see the potential with this salad but it wasn't quite what I was hoping for. I think I'll have to try a couple before I try to make my own.

Feeling quite discouraged, I set to make desert. When it comes to sweets I feel like a have a better handle on the flavors. I feel more confidant so I play with ingredients a little more. The dish was inspired by the tropics. Think mangoes, papaya and bananas with the comforting taste of vanilla and cardamom. It was like sunshine in a bowl. Which was a welcome change considering the cold wet Vancouver weather.


3/4 cup turbinado sugar (I prefer to use turbinado sugar because it's flavor is earthy which lends itself well to this recipe)
1 cup water
6 cardamom pods - seeds removed*
1 ripe papaya
1 ripe mango
1 banana
1 container of Vanilla Liberte Mediterranée Yogurt

  • In a small pot, add sugar, water and cardamom seeds. Boil on medium high heat until it becomes thick but not quite caramel consistency.
  • While the sauce is cooking, dice papaya, mango and banana and place in a medium bowl. Place 2 scoops of yogurt in each serving bowl (if you have small bowls, use them. I forgot to and used a big bowl... the desert ends up looking lost.)
  • Once the sauce is ready, pass through a sieve to remove cardamom seeds. Sieve directly over diced fruit. Stir until fruit are well coated.
  • Scoop fruit over yogurt and enjoy!

Leftover fruit mix is delicious on oatmeal in the morning.


* To remove the seeds from the cardamom pods, set one cardamom pod on your counter, take a large knife and lay it flat on top of the cardamom pod, crush the pod (usually one good whack with your fist will do. But be careful!). Pick out the seeds from the crushed cardamom mess. Repeat with 5 other pods.

Wednesday, December 8, 2010

Oh Christmas Tree Oh Christmas Tree

Yesterday I bought my first ever Christmas tree! I was brimming with pride when I carried it home. I cuddled it closed to me because I knew this little green shrub was the first in my very own tradition. What is different from this little green shrub is that it isn't a coniferous tree but a perennial herb. My Christmas Tree is a Rosemary plant.

Now how did I go from a traditional Christmas tree to a not so traditional tree? Well, it started a couple of years ago when I read an article about alternate tree type decorations for Christmas (or Solstice). The idea was the Christmas trees aren't environmentally friendly and their artificial counterpart isn't any better. So what to do? I wasn't ready to nix the whole Christmas tree idea all together. Afterall, a Christmas without a Christmas tree is like a Birthday without a Birthday cake! While some may be there, I just wasn't ready to accept the idea.

This year I got a letter from the building that I live in saying that we aren't allowed to have any live Christmas trees in our apartments. Apparently this is a fire hazard (I could see their point if we were still putting candles in our Christmas tree but thanks to technology, we have these wonderful little electric lights). If anything, I think it would just be a bigger mess for the cleaning people to clean up when we take out our dehydrated, shriveled up, needle dropping Chritstmas trees. But I digress.

Last week, Mom called to tell me the news; this year we will not have a Christmas tree. WWHHHHAAATTTT!!!! No Christmas tree?! So what are we going to decorate?! And what will I sleep under Christmas morning?! Oh right, I haven't slept under the Christmas tree for probably 15 years. This was a tradition that my brother and I enjoyed when we were little. It was always such a treat to camp out in the living room, surrounded by presents and twinkling lights. Eventually we outgrew the tradition but I definitely haven't outgrown the memories.

So now I was faced with the reality. No Christmas tree allowed in my apartment (unless it's a fake one, but I don't want a fake one, I want a real one. It smells nicer and somehow I think it's more environmentally friendly) and now, no Christmas tree at Mom and Dads. It was hard for my overly traditional brain to wrap around. What to do? I toyed with the idea of getting a potted pine tree or something of the sort that I could decorate and then plant in the forest come spring time but then I remembered the little tree that my brother and I grew when we were little. I think it stayed in our yard for 5 years before getting too big. We dug it up and with Mom and Dads help, we set out to plant it in Queen Elizabeth Park. We found it a new home and promised it we'd come visit (which seemed like a reasonable thing to tell a tree when you're 10). When we went back to visit, it was gone. Apparently the parks keeps track of which tree is where and if a tree is planted where it shouldn't be, it gets removed. So, Christmas tree in pot idea was thrown out the window.

If I was going to get something live, I wanted it to be used after the Holiday season was over. I'm absolutely terrible at keeping any plant (having recently thrown out my plumeria 'tree' - more like stick - it died because it was too cold in my apartment. I was proud of this little plant! I brought a teenie nub home from Hawaii and tried to grow it here - knowing full well that our climate is VERY different. It worked for 3 years and it would make pretty leaves during the spring and summer, in the fall they would drop and it would hibernate and then take on the spring again. It never made flowers but it was pretty and I was semi successful at growing a tropical plant in a not so tropical environment). What resemble a Christmas tree, is useful after Christmas and easy to take care of? A rosemary plant!

So there we have it. A non traditional Christmas tree. I even went to Michaels where they have an entire section of really tiny ornaments for really tiny Christmas trees! Now it's almost perfect. It just needs to grow a little because the star on top is a little bit too big but if I keep up with watering (it needs a cup of water a day) it should look great.

Thursday, December 2, 2010

Dried-Cranberry Shortbread Hearts

These cookies are a side effect of being struck by Cupid. Love makes you do silly things, this includes making heart shaped cookies.


Dried-Cranberry Shortbread Hearts

1 cup unsalted butter, softened
3/4 cup sifted confectioners sugar
1 tsp pure vanilla extract
2 cups sifted flour
1/2 tsp coarse salt
1/2 cup finely chopped dried cranberries

Preheat oven to 325 with rack in the center. Put butter, sugar, vanilla, flour and salt in a large mixing bowl. Stir together with a wooden spoon* until combined but not too creamy. Stir in dried cranberries.
Press dough evenly into a 8-inch square (or 10' round works as well) baking pan. Bake until firm and pale golden, about 30 minutes. Let cool on a wire rack, about 20 minutes.
Run a knife around edges; remove shortbread (be careful, it's fragile. This is where having two people in the kitchen came in handy) and transfer, right side up, to work surface.
Cut out hearts with a 2-inch heart shaped cookie cutter. Trim any stray bits of cranberry from edges with a paring knife. Cookies can be stored in an airtight container at room temperature up to 5 days.

*I personally use my hands. I like to feel my food. Plus, you get to lick your fingers after your finished mixing. Yes, I wash my hands afterwards.

'Naughty' Chocolate Cookies

To kick off December, Chera came over and we made some delicious cookies. There's nothing better than a warm apartment filled with the wonderful smell of baking cookies. One of the cookies we made were the 'Naughty' Chocolate Cookies that I spoke about in my previous blog post. The only thing we didn't add to these was orange rind. We didn't have any oranges. Oops. They are yummy cookies none the less!


'Naughty' Chocolate Cookies

1 1/2 cups all purpose flour
3/4 cup unsweetened Dutch-process cocoa powder
1/4 tsp coarse salt
1/4 tsp finely ground pepper, plus more for sprinkling
1 tbsp and 1 tsp of good quality instant espresso powder
1/2 tsp ground cinnamon
3/4 cup unsalted butter, softened
1 cup granulated sugar
1 large egg
1 1/2 tsp pure vanilla extract
Orange rind, grated finely to taste.
Coarse sanding sugar, for rolling (I used regular sugar because I forgot that I could use turbinado sugar)

Sift together flour, cocoa powder, salt, pepper, espresso powder, and cinnamon into a large bowl; set aside.
Put butter and granulated sugar in the bowl of an electric mixer fitted with the paddle attachment*; mix on medium speed until pale and fluffy, about 3 minutes. Mix in egg, vanilla and orange rind. Reduce speed to low. Add flour mixture, mix until just combined.
Turn out dough onto a piece of parchment paper, and roll into a 2 inch diameter log**. Roll log in the parchment paper. Refrigerate for at least one hour or overnight.
Preheat oven to 350. Remove log from parchment paper. Let soften slightly at room temperature, about 5 minutes. Roll log in sanding sugar, gently pressing down to adhere sugar to dough. Transfer log to a cutting board and slice into 1/4 inch thick rounds. Place rounds on baking sheets, spacing 1 inch apart. Sprinkle each round with freshly ground pepper.
Bake cookies until there is slight resistance when you lightly touch centers, about 10 minutes. Transfer cookies to a wire rack to cool completely. Cookies can be stored in air-tight containers at room temperature up to 2 days.

* I used a hand held mixer. But before I got my hand held mixer for my birthday (Thanks Mom & Dad) I used a whisk and it works just fine.

** A problem I always have with these cookies is that they end up looking like D's because one of the sides get flattened when I cut them. This time, I made a rectangle and made square cookies. Problem solved :)

Monday, November 29, 2010

Chocolate Dutch Apple Cake

Oh my! This cake is pretty darn delicious! Mom and I made this cake the same night we made the Tom Kha soup. After my first bite I knew I had to have the recipe. She's made it before but I think we were missing the secret ingredient.
Chera was over on Friday and I decided to make this cake at home. The one I made was pretty yummy but it was missing something. What takes this cake to a different level is fresh, ground nutmeg. When the cake has aged (give it a day or so...) the nuttiness of the fresh, ground nutmeg blossoms and it takes this cake to a whole new level. After leaving my regular nutmeg cake be for a day, it was just as yummy as the day it came out of the oven but it didn't have that hint of nutmeg that Mom's cake had. So Santa, if you're reading this, I'd like a nutmeg grinder for Christmas. :)
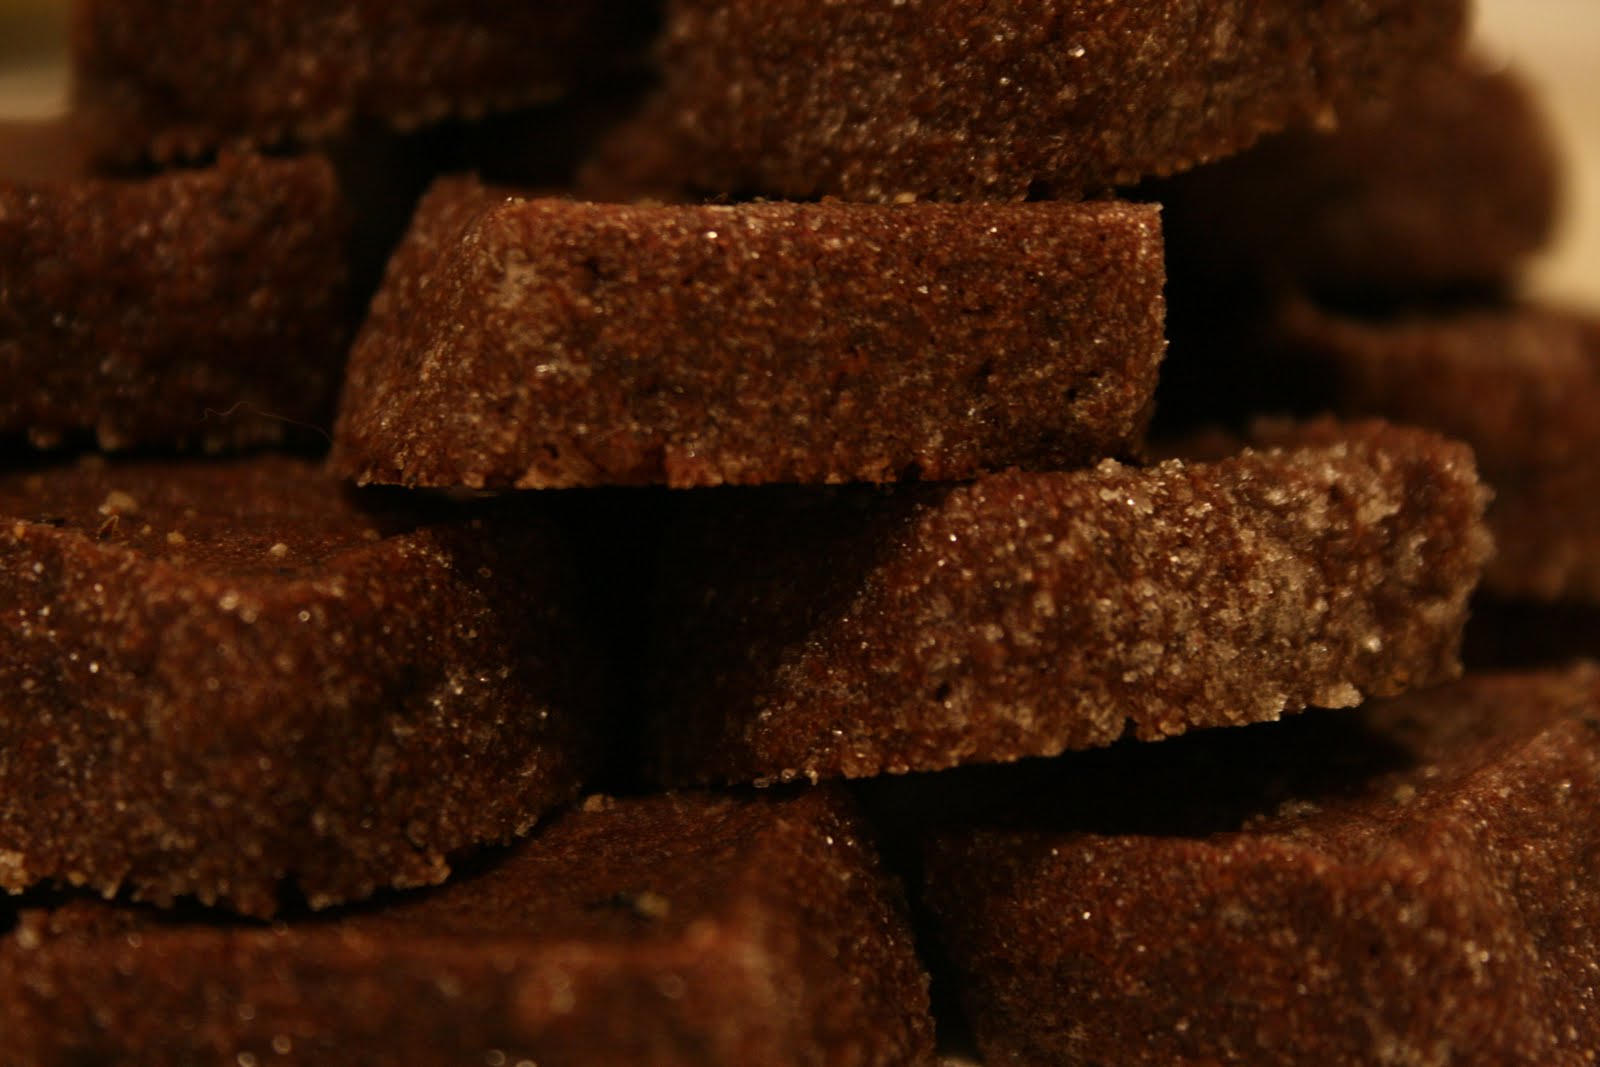
Now Chera wasn't able to have some cake on Friday so I promised her that I would keep some. I think this will be a promise that will be hard to keep. I gave Sean a piece on Saturday when he went snowboarding with the guys. He (who has tried Mom's recipe) said it was just as delicious as Mom's but mine had more apples (which is true, it did, I added 3 cups instead of 2 and kept the peel on, which I think Mom removed). When I spoke to him today, I told him I forgot to give him a piece of chocolate apple cake for work today. I think his response to that was 'Yeah you did!". Which made me laugh. What can I say, I am not thinking straight at 6am when he leaves for work. Actually I barely even hear him leave most of the time. I am pretty sure that between the two of us, the entire cake will be gone by Wednesday (which is when Chera comes over again and we'll be making Dried Cranberry Shortbread Hearts and my favorite Naughty Chocolate Espresso Peppered Orange Cookies*) and all that will be left of the cake is something like this...


Chocolate Dutch Apple Cake

2 Eggs
1 1/4 cup sugar
3/4 cup melted butter
2 cups flour
1/3 cup cocoa
1 tsp baking soda
1/4 tsp salt
1 tsp cinnamon
1/2 tsp nutmeg (freshly ground if you can)
1/2 cup milk
2 cups diced apples
1 cup chopped walnuts

In a large bowl, beat eggs and sugar, then add 3/4 cup melted butter.
Blend together flour, cocoa, baking soda, salt, cinnamon and nutmeg.
Add to egg mixture alternating with milk, stirring until just moistened.
Blend in apples and chopped walnuts.
Pour into a greased and floured 8-cup pan (like a bundt pan, or a large loaf pan). Bake at 350 for 40-45 mins.

*These Naughty Chocolate Espresso Peppered Orange Cookies were a hit two years ago when I made them in a combination Naughty & Nice cookie tin (the 'Nice' cookies were Organic Spelt Ginger Snaps... as delicious as they were, they didn't hold a candle to the 'Naughty' cookies). The recipe is a fusion of two recipes. I'm still playing around with the flavors so that it can become my staple Christmas Cookie.

Cold Weather Requires Warm & Comforting Soup

Last week Mom and I had a girls night while Dad was out with a friend of his and my brother and his wife, Dasha, were on their way back from their 3 month trip around Eastern Europe. When Mom asked me if I had any particular craving I thought of soup... but what kind of soup? One of my all time favorite soup is Tom Kha. It's so delicious that I'll order it any time we go to a Thai restaurant and I've even requested it as a birthday dinner two years ago. I was so impressed with our homemade version that I am now almost certain that we might be part Thai! It definitely stands up next to the Tom Kha soup at Khai Thai Restaurant (the best place I've been for Thai food in Vancouver so far).
Cooking with Mom is great :) Without knowing it, she and Dad raised my brother and I with a strong connection to food. Now that we're older, my brother and I are taking that love for food that we were raised with and we're passing it on to our friends and one day we'll pass it along to our own family.


Tom Kha Soup

Serves 8 (Not full meals
  1. In 4qt or larger, heavy-bottomed pot, begin heating chicken/veggie broth and coconut milk on low-medium heat.
  2. Add the other ingredients for the broth, down through the brown sugar, as you prepare them.
  3. Bring broth to a slow simmer; never allow it to reach a rolling boil, and do not cover it at any time during cooking.
  4. When broth is simmering, start stir frying your tofu cubes. Make sure to turn often so they are cooked on all sides.
  5. Continue down the list of ingredients, adding them to the soup while the tofu cooks, stirring regularly.
  6. Once the tofu is fully cooked, add it into the soup then add the cilantro.
  7. About a minute after adding the cilantro, taste the soup and add some additional lime juice as desired to punch up the flavor (maybe 1-2 T--don't overdo it!)
  8. Serve immediately.

*Some ingredients in the soup made me wrinkle my nose. Fish sauce on its own smells pretty gross! Anchovy paste too! I didn't even want to touch the stuff. When you mix it all together the smell of the fish sauce or the anchovy paste blend really nicely. I'd be afraid to try the recipe without these possible key ingredients.

The original recipe can be found here.

Tuesday, November 23, 2010

Feeding the critters

If you would have told me that little humming birds would fly to the 18th floor, I would have looked at you funny. If you would have told me that I would buy a humming bird feeder to feed said humming birds I would consider it but decide not to because... humming birds don't make it to the 18th floor. If you would have told me that humming birds would fly to the 18th floor in the middle of a storm or -5 weather I probably would have chuckled. If you would have told me that I'd be standing in -5 weather with my hair dryer unthawing my humming bird feeder I would have thought you were crazy.
Also, I would have seriously misjudged myself! At the sight of my first little humming bird friend in October, I bought a feeder (the very same day). I looked up how to make food for something with such a basic diet (no hash browns here) and made my new found friend dinner (and breakfast and lunch and dinner... they don't eat a lot, so one recipe will keep them fed for a while). He didn't come back. One day went by then two then three then a couple weeks! Then he came back, ate and left for a couple more. Just as I was complaining to Sean that my humming bird friends were gone, they came back! That very morning, Sean and Tugger sat on my living room floor waiting for the birds as they came and went (this was definitely a Kodak moment).
Since then I've been finding ways to keep their food from freezing. I was using my hairdryer to thaw the ice but that took too long (I kept looking around to make sure no one was watching, luckily no one in their right mind is on their balcony in -5). I MacGyvered a quick release for the feeder so that it could stay safely attached during the high winds (bird feeder falling 18 floors doesn't seem very safe) but I could also remove it during the night so it doesn't freeze and reattach it around 6am for the birds to feed. With the cold weather we've been having now, I have to take it in every 4 hours, soak it upside down in hot water otherwise their little tongues will get stuck to the giant popsickle. It's something that may seem like a lot of work but I don't mind doing it. They're really cool to watch and Tugger is really cute when he sees them (video to come).
So far it looks like there's two. A ballsy guy bird who usually comes earlier on in the morning. He will also come up to the window and go beak to nose with Tugger and chirp at him. He'll also keep me company when I am changing his feed or warming it, usually flying around my head, we've looked each other in the eyes before and I was kind of intimidated. Haha! The second one is a little fatter and paler, I think these are the females, either that or it's my morning bird with a little frost on him. She's shy and I have to move REALLY slowly when I get close to the window to watch it feed otherwise she'll fly off. There could be more than two but judging by their colours and characters, I think there's only the two.


Humming Bird Feed

1/4 cup sugar
1 cup boiling water

  • Pour 1 cup boiling water in a measuring cup, add sugar and stir until all sugar is dissolved.
  • Measuring the water after it's been boiled makes it so that the solution is more accurate.
  • Regular refined sugar is best. Colouring, honey or any other fancy stuff (which of course I looked up because the original recipe seemed too basic) can be bad for them.
  • The sugar water mix needs to be changed every week to every two weeks otherwise it gets moldy.
So don't be shy, put up a humming bird feeder. Those little guys don't have a whole lot to eat this time of year and they really appreciate it. If none come by initially, maybe put some red leaves or something around it. It was my fall leaves on my balcony that initially attracted them.